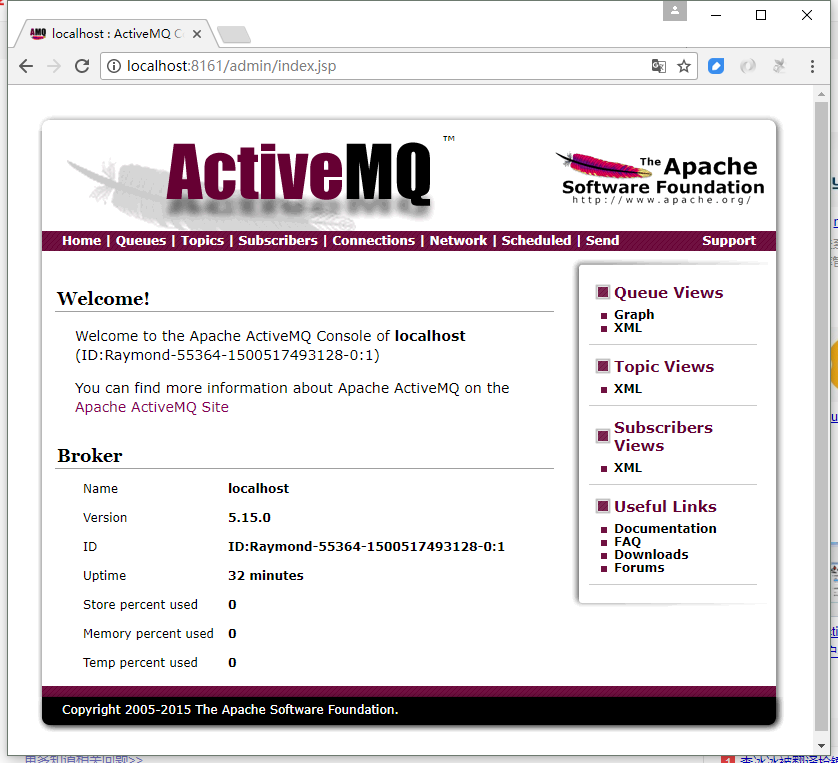
假设已经安装好ActiveMQ服务,并且以61616端口将服务启动,打开浏览器,访问管理端地址,看到如下画面,说明ActiveMQ启动成功:

在管理端创建myqueue队列。
然后,创建logback.xml配置文件:
org.apache.activemq.jndi.ActiveMQInitialContextFactory tcp://127.0.0.1:61616 ConnectionFactory myqueue
注意,QueueBindingName节点的myqueue是一个jndi名字,需要另外映射,因此,创建jndi.properties文件:
java.naming.factory.initial = org.apache.activemq.jndi.ActiveMQInitialContextFactory # Use the following property to configure the default connectorjava.naming.provider.url = vm://localhost # Use the following property to specify the JNDI name the connection factory# should appear as. #connectionFactoryNames = connectionFactory, queueConnectionFactory, topicConnectionFactry # Register some queues in JNDI using the form:# queue.[jndiName] = [physicalName]queue.myqueue = myqueue # Register some topics in JNDI using the form:# topic.[jndiName] = [physicalName]topic.MyTopic = example.MyTopic
最后,在程序中使用logger:
private Logger logger = LoggerFactory.getLogger(this.getClass()); ...... logger.info("第一个参数为【{}】,第二个参数为【{}】",a,b);